Mango Grafting at Home: Veneer and Cleft Grafts Step by Step (Video)
Read the full written guide: Mango Grafting at Home: Veneer and Cleft Grafts Step by Step →
Learn how to graft mangoes at home during the monsoon season. This step-by-step guide covers both veneer and cleft grafting, from raising a desi rootstock to picking the perfect scion from a tree you love. You'll also discover the aftercare that decides success and the one mistake that kills most grafts.
With grafting, you can grow a mango tree that fruits true to its parent, usually years before a seedling would. Whether you're in Punjab, Sindh, or anywhere with a monsoon, this practical guide walks you through the whole process. No fancy equipment needed, just a sharp knife, some patience, and a tree you want to clone.
Show the full transcript
Transcript
Want a Chaunsa mango tree at home? Grafting is the shortcut.
Want a Chaunsa mango tree at home? Grafting is the shortcut.
Mango Grafting at Home
Step-by-step mango grafting, plus the one mistake that ruins most grafts.
What you need
So here's the thing: mango grafting at home is very doable. You grow a desi mango seedling for about a year, take a pencil-thick shoot from a Chaunsa, Sindhri or Langra tree you love, and join them by veneer or cleft grafting in the monsoon. The grafted plant fruits true to the parent, usually years before a seedling would.
When to graft
When is mango grafting season? The monsoon, July to September on the plains. Humidity keeps the scion from drying out, sap is flowing, and the union has warm weeks to knit before winter. Grafting in May's dry heat fails. Indian research stations report good survival in August and September; in Karachi, the same months suit. Islamabad and Peshawar should finish by August.
Raise your rootstock
How do you raise the rootstock? In June or July, sow fresh mango seeds from desi trees on their side, 3 to 5 cm deep. Keep them moist in part shade. Sprouts appear in a few weeks, often with coppery leaves. Grow them for about a year. They're ready when the stem is about 1 cm thick at 20 cm height. For cleft grafting, you can also use a younger stock, as long as the top is green.
Defoliate a week ahead
Here's a trick that changes everything. About seven to ten days before you graft, snip off the leaves on the scion shoots while they're still on the mother tree. Keep a short stub of each leaf stalk. The dormant buds in the leaf joints swell and are ready to burst. Grafts made with prepared scions take noticeably better than ones cut the same day with leaves on. It's like giving the scion a head start.
Veneer graft steps
Veneer grafting adds the scion to the side of the stock, which stays alive and keeps feeding while the join heals. About 20 cm above the soil, make a downward cut 3 to 4 cm long, just under the bark. At the bottom, a short angled cut removes the sliver, leaving a small lip. Cut the prepared scion with one long sloping face, and a short cut on the opposite side. Fit it so the green layer under the bark, the cambium, touches the stock's on one side.
Cleft graft steps
Cleft grafting is quicker and simpler. Cut the stock off cleanly at 15 to 20 cm, where the stem is green and as thick as the scion. Split it down the middle 4 to 6 cm with a clean knife. Shape the scion base into a wedge with two sloping cuts of the same length. Slide it into the split so the bark lines up on at least one side.
Veneer or cleft?
So which should you choose? Veneer is for older, woody stocks and is more forgiving, which makes it great for beginners. Just remember to cut back the stock later. Cleft gives quick results on young green stocks, but the stock dies if the graft fails. So if you're new to grafting, veneer is the safer bet.
10, 14 days to know
Here's a timeline that helps. If the scion stays green after 10 to 14 days, it's probably taking. New buds usually swell and break within two to four weeks. Let the first flush harden before removing the tie, usually after one to two months. A tie left on too long cuts into the bark as the stem thickens.
Aftercare basics
Aftercare is what decides success. Keep new grafts out of direct sun for about three weeks, under a net or a tree. Keep the soil evenly moist, never soggy. Rub off stock sprouts every few days, they steal the energy. And no fertiliser until the scion has made its first set of leaves, then a handful of compost. Oh, and wear gloves when handling mango sap, it can irritate skin.
The honest verdict
Here's the honest verdict: graft. A seedling is a lottery on taste and takes many years to fruit. A graft gives you a known variety and usually its first fruit within a few years in the ground. If you have no mother tree to take scions from, a grafted nursery plant with a clear graft union and a named variety is the sensible shortcut.
The one mistake to avoid
Now, the one mistake most people make: letting the scion dry out. No cap, too much sun, or slow work all dry out the cut surfaces. Also make sure the cambium layers touch, use a clean sharp knife, and avoid grafting in rain. Graft in dry spells between monsoon showers, cut each face in one smooth stroke, and work quickly so cut surfaces don't oxidise.
Like, subscribe and comment
Useful? Like and subscribe, and tell us in the comments what we should check next.
Read the full guide
The full guide is on thecareonline.com. General information only, so check with your doctor for your own case.
More videos
 Kitchen Garden
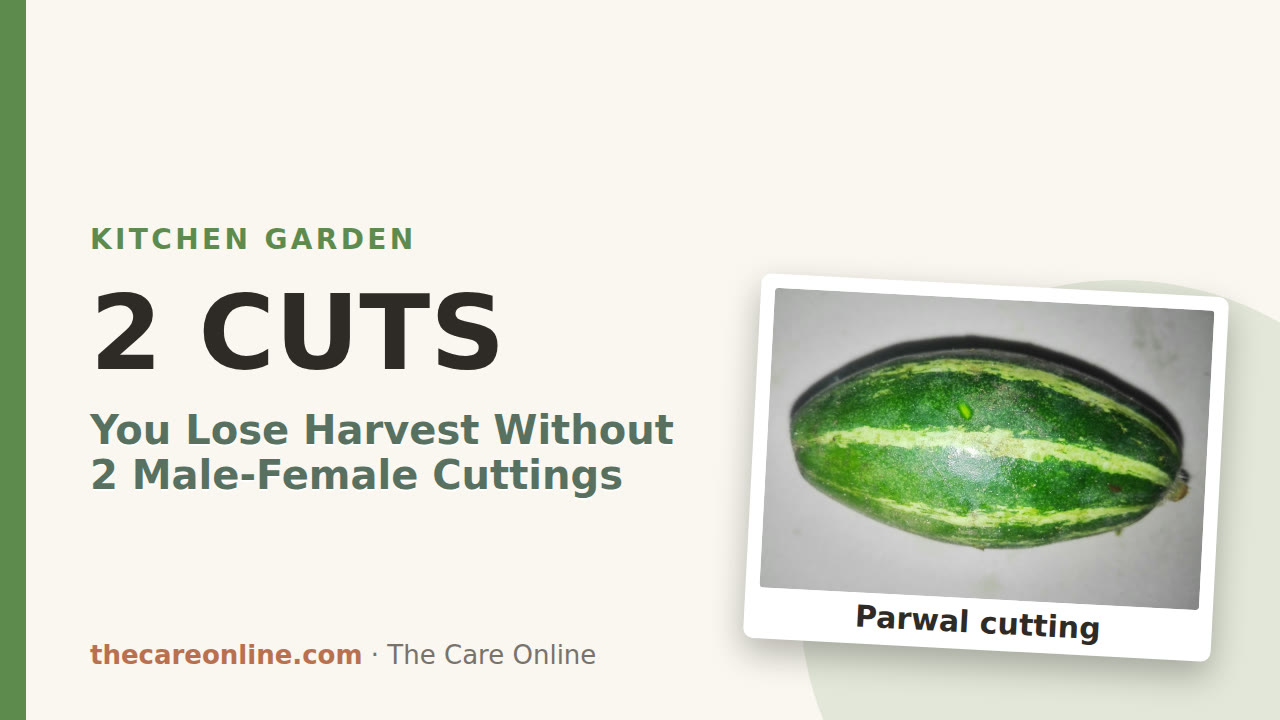
How to Grow Parwal (Pointed Gourd): Male and Female Cuttings
 Kitchen Garden
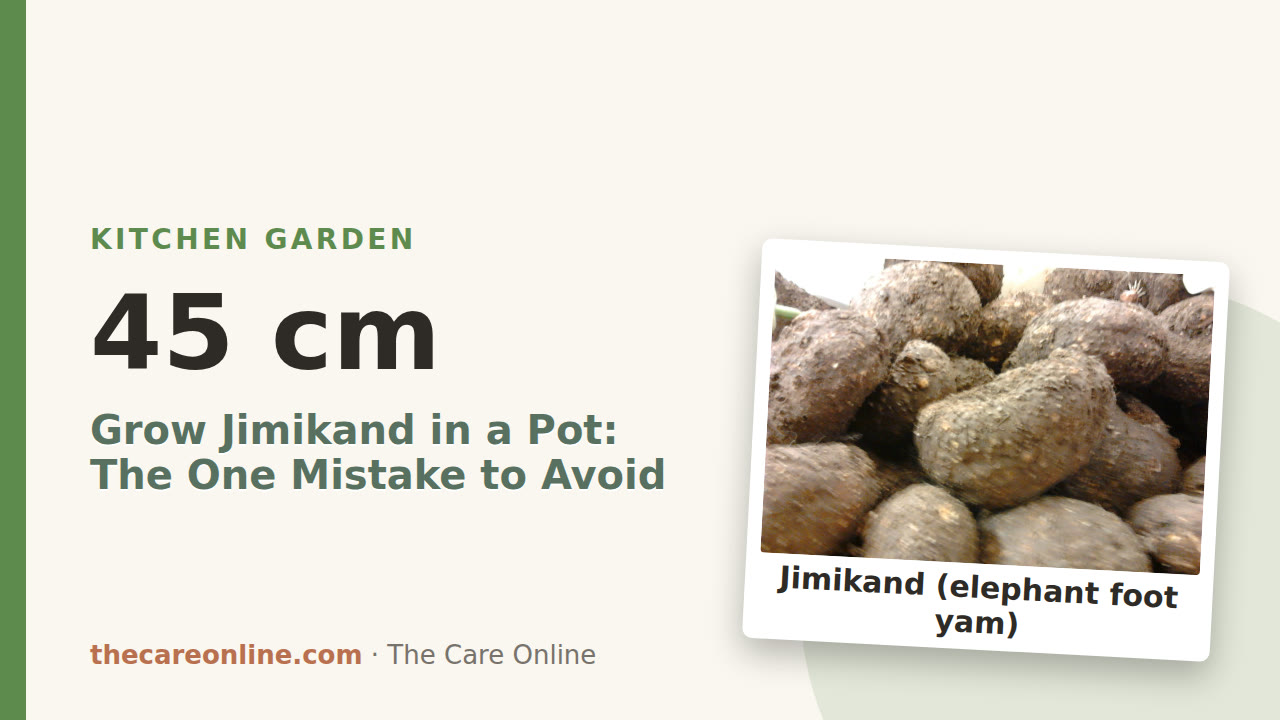
How to Grow Elephant Foot Yam (Jimikand) in a Deep Pot or Bed
 Kitchen Garden
How to Grow Ash Gourd (Petha): Space, Sowing Months and Harvest
 Kitchen Garden
Drip Irrigation for Pots on a Rooftop: Tank, Kit and Timer
 Kitchen Garden
How to Grow Snake Gourd (Chichinda) Straight on a Rooftop Frame
 Kitchen Garden